
Camping 101: What to pack for your first camping experience?

Camping 101: What to pack for your first camping experience?
Heading over to the wilderness for the weekend? Camping is a liberating activity that takes you away from the comforts of your four walled heaven, right into the wilderness. First timers usually over-pack or under-pack for their first camping trip. I know because I did.I've learnt how to pack for a camping trip on a trial and error basis. Over the years, I've realised the absolute essentials that I use and the luxury EDC's that are optional. This blog post lists down the items that I believe are the absolute essentials based on my experiences in the wild.

Rope - Paracord
Do not go into the wild without a rope! They can be used to hang your wet clothes. as a rescue device, to set up your tent or to tie something up etc. You may ponder upon the size to choose from; for most of my Camping Trips I have carried about 10 metres of a thick cotton rope that I found at a Hardware store in Mumbai and a few metres of paracord. Paracords are said to be heavy Duty and lightweight ropes that is very strong as compared to their weight. A few metres of paracord is a must for any hikes/camps. You can find them here:Gipsel Sarpa 12mm low stretch rope (recommended)
Vibes 50ft 550 Cord Paracord Parachute Survival Cord

Tent
This has to be the most obvious addition to the list. You ain't no Bear Grylls to make your own shelter out in the wild. You have to buy your own tent or rent out one! Tents protect you from wind, rain, insects and the wilderness. While sleeping out in the wild under the stars may sound like a thought right out of a Hollywood movie, it is not a very good idea in real life. You may fall sick because of the moisture that accumulates on your body in the early hours of the morning the next day. Choosing the right tent is a bit tricky, however there are a few factors you should consider when buying one. You need to know the weather you're buying the tent for. For the Sahydaris, where the monsoons are heavy and the summers are really hot, you should opt for a two layered tent. For the Himalayas where the weather is really cold, you should opt for a tent specially designed for the cold weather. Cold weather tents have thick vestibules and a thick waterproof cover along with a wind resistance of more that 40km/hr winds.
Quechua Arpenaz 2 Tent (2 Person) - Recommended
Coleman Sundome Tents (3 Person)

First Aid Kit
Important! This is not an option, it is a must. Carry a basic first aid box which includes common medicines, band-aids, bandages, antiseptic lotion, sanitiser, cotton etc. You never know when things go wrong on a camping trip and being stuck in an emergency without basic medical supplies is not a good idea. You don't need the cliched metal box with a plus sign on it to store your medical supplies. You can buy a first aid kit off the counter or just buy all the supplies independently and store them in a small waterproof pouch. Be sure to carry some creams for bug bites, antiseptics, pain killers and some antacids.Top Gear Pre-built Medical Kit

Matches
Important again! How else do you light your fire? We've had this one time when we actually forgot to carry something that seems so insignificant. Long story short, the experience wasn't pleasant. While you may think of all the primal methods of lighting a fire with stones and twigs, nothing beats the ease of using a matchstick or even better, a lighter. They are really cheap, though the expensive fancy ones like the stormproof ones are the ones that I generally use. Don't get me wrong, I do like lighters and they are much better in terms of durability and storability but I really like the primal feel that a matches gives. Tuck one of these in your backpack for all your camping trips. You can additionally add a few newspapers in your backpack as a hack to start a fire really quick. P.S. A little Kerosense/Alcohol/Gasoline carried does help too.Stormproof matches - recommended
Swiss Military Lighter (Best seller on Amazon)
Windproof Jet Flame Lighter (Can melt metal too!)
Tarpaulin Sheet
A tarpaulin sheet can be mainly used for mainly three purposes on a camping trip; as a ground sheet, as an extra rain cover or as a sheet to lie on. Most of the times the rain cover that is provided with the tent doe not suffice. The Tarpaulin sheet can be used along with the tent anchors to build an extra layer of protection on the tent. Incase if it's not the monsoons, you can use it to build an extra layer of comfort beneath your tent. This helps increase the life span of the tent's floor.

Flashlight
You don't want to be stuck in the wild in the dark without a good torch and it is always advised to keep one in your survival pack. You will definitely need this on a camping trip unless you're camping in your apartment. You may want to take a torch which is bright enough to illuminate upto 10 metres with adjustable focus. Waterproof torches are a bonus! There are some camping specific torches available. I'd recommend to invest in a headlight as this keeps your hands free while you're doing a task. I'll list the ones that I have here and where you can buy it from:Pop-Up Camping Torch/Lantern (Highly Recommended)
Rechargeable 3 Mode Torch
Rechargeable Head light - Recommended to buy but you can get a better and cheaper one from Decathalon

Army Knife
The cool quotient, this one also features on my other article about hiking essesntials! Multifunctional knives are awesome. While they may or may not be used during a usual trek, they do give you a sense of being well equipped for any hike. One should pray that they may not find the need to use one in a hike, having them in your daypack will keep you at peace. I purchased one made by "Grand Harvest" locally on the streets of Lamington Road in Mumbai. The same product is available online on Amazon. I bought mine for Rs 300/- off the streets and I think 320 for an online reseller is a good deal. Buy it here:Multifunctional Knife
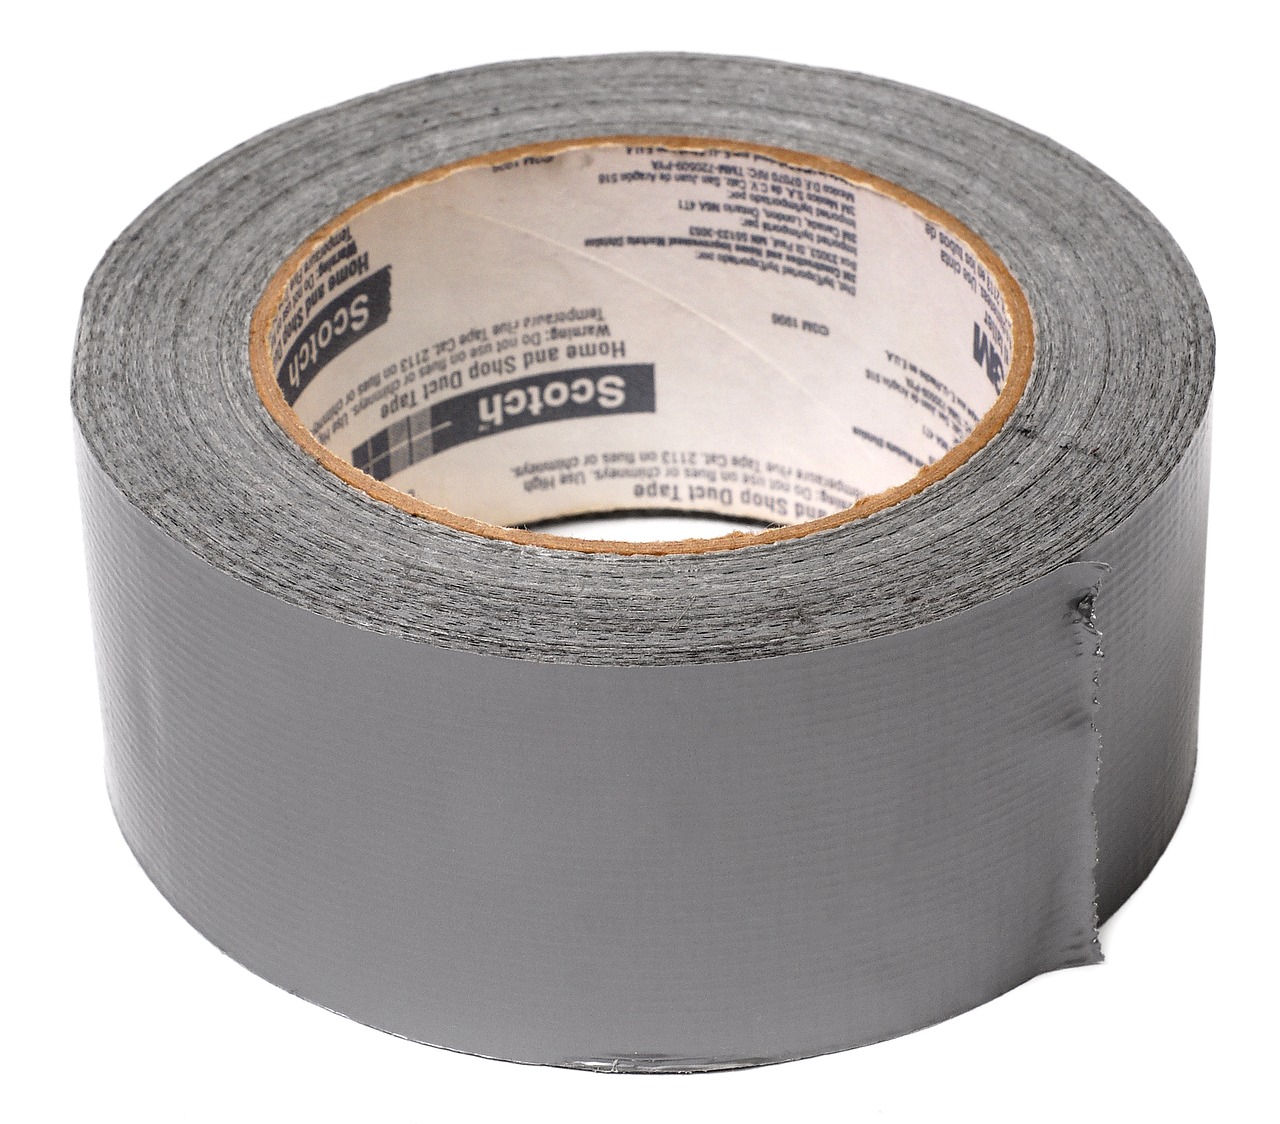
Duct Tape
Duct tapes are underrated. Period.Nothing can be as handy as duct tapes when it comes to tears, rips and blisters. Duct tapes can fix broken soles, tears in the bag, waterproofing bags and open ventilated shoes etc. A long piece of duct tape can also be twisted into a strong rope/string if you want to tie something. You can also make loops out of duct tapes to stick other essentials to your backpack. They also help in fixing holes on your tent. Carry one!
48x50mm Duct Tape

Coal
While finding dry wood and twigs is not difficult during the summers in India, carrying coal always helps! Wood burns really fast whereas coal burns slow. Adding coal to a fire means you have a sustainable heat for some time. Wood is great for campfires whereas coal is great for cooking. We always carry about a kilogram of coal whenever we go camping. Yes, it's a pain to get them started but once they are ignited, they last for a really long time.
Wet Wipes / Toilet Paper Roll / Tissue Paper
Wiping the dust and grime of your face or completing business after the nature's call, wet wipes have you covered. Wet Wipes work better than tissues as the dust that settles in after a hike, or the soot that your face gathers after sitting next to a campfire is best taken care by a wet towel rather than a dry tissue paper. Wet wipes come in different packaging and quantity. I usually buy a small pack of 10 wipes for a 2 day camping trip. I accompany this with a roll of toilet paper.Johnson Wet Wipes
Face Tissue (Pack of 10s)

Bug Spray
Another item that is common to my article about hiking essesntials. The wild is full of creepy crawlies and one must make sure that they are protected against them. You need to apply a good layer of an insect repellent before you do any activity at the campsite and especially before you sleep. An over the counter insect repellent should work but consider your doctor's opinion before using any product. I prefer using anything that comes in a spray bottle rather than a tube reason being the ease of use and applicability. The one's that you could take a look at are:Budget option
Expensive but a fancy one

Full Clothing
This seems like a no brainer but is not usually followed. Depending on the season you are camping in, you may either choose to go for a full length bottoms or short ones. Full length bottoms are generally preferred throughout all seasons as they protect you against bug bites. Half length bottoms can be worm during the monsoons and summer nights.I usually prefer to camp in my sleeveless t-shirt during the summers, however I switch to full length uppers during monsoons and winters to shield myself from the cold. One drawback of wearing sleeveless T-shirts is the amount of skin you expose to the happy to feast insects.
In terms of the fabric, I prefer wearing quick dry fabrics dry-fits.
Quechua Women's Pant - Convertible (Highly Recommended)
Quechua Forclaz Men's Pant - Convertible (Highly Recommended)


